For this article, I assume you already have Scrivener installed. If not, go grab it here and follow the instructions to install it. You’ll need the Windows version for this tutorial.
Side Note: It if you don’t want to commit yet, don’t worry, Scrivener offers a trial version that gives you thirty days to experiment and see if it is for you.
Side Note 2: If you experience any problems during that process, let me know in the comments, and I’ll try to help. I’ll write a full post about the installation process, somewhere in the future.
OK, enough with the side notes. 🙂
Once you have Scrivener installed and you open it for the first time, you should see the this:
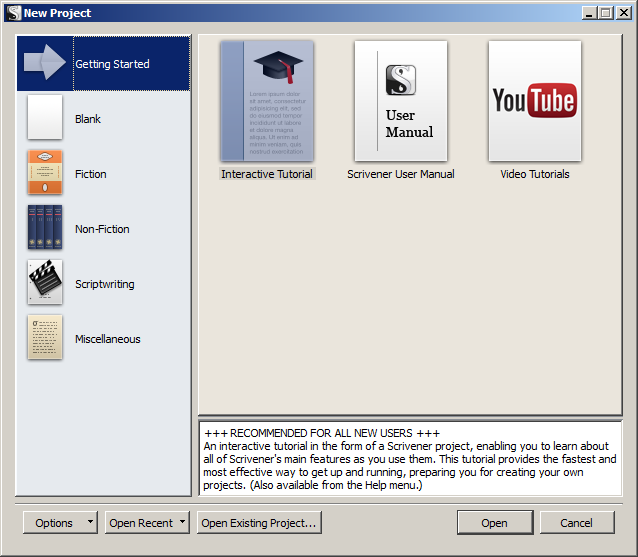
On the left side is a list of categories of type of projects, and on the right are the templates themselves.
Side Note 3: We are not going to go over all the settings in this window as our goal is to start writing, so…
Go on and click on Blank as shown on the image below, then in the Save As field.
Enter a name for your new project. You can put whatever name you want.
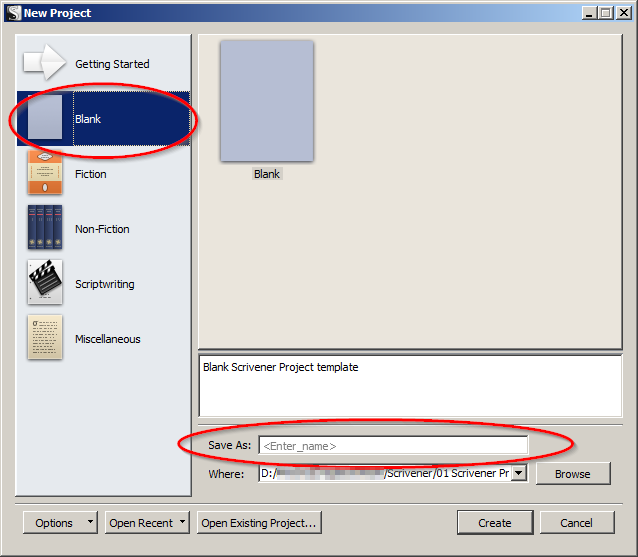
Click on Browse and select the location(folder) where your project will be saved.
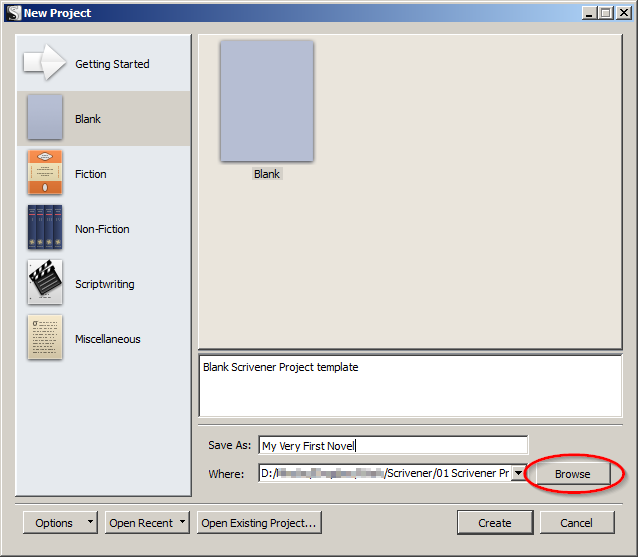
Once that’s done, your screen should look like this:
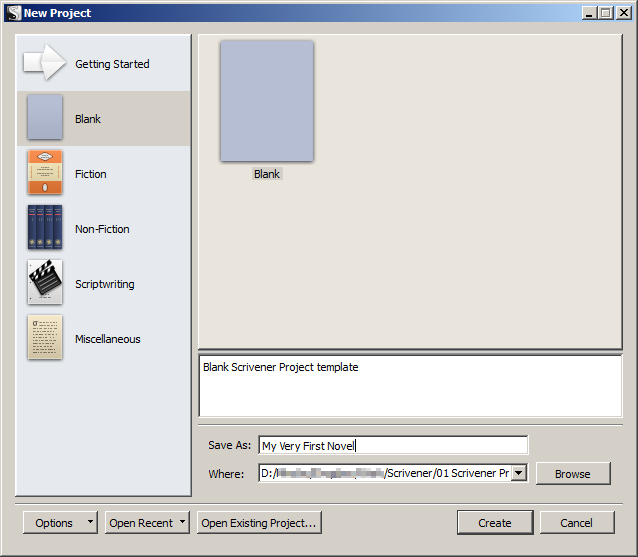
Notice the name I chose for my project ‘My Very First Novel‘.
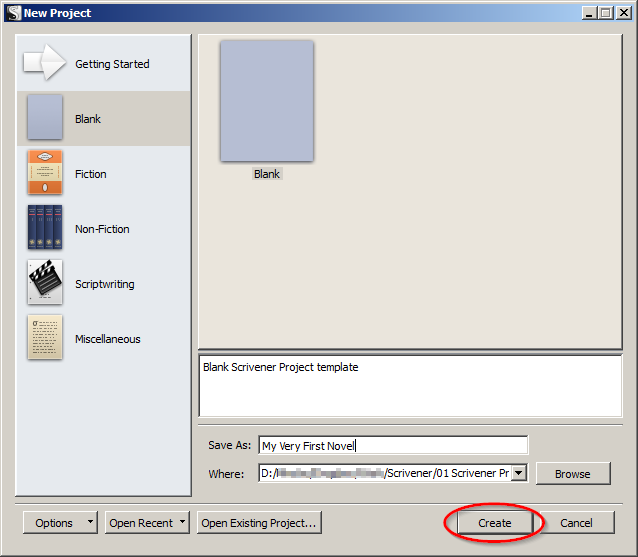
Now click on Create:
Sign-up for my mailing list to receive more tips about Scrivener.
[jetpack_subscription_form title=”” subscribe_text=”” subscribe_button=”Sounds Good. Sign Me Up”]
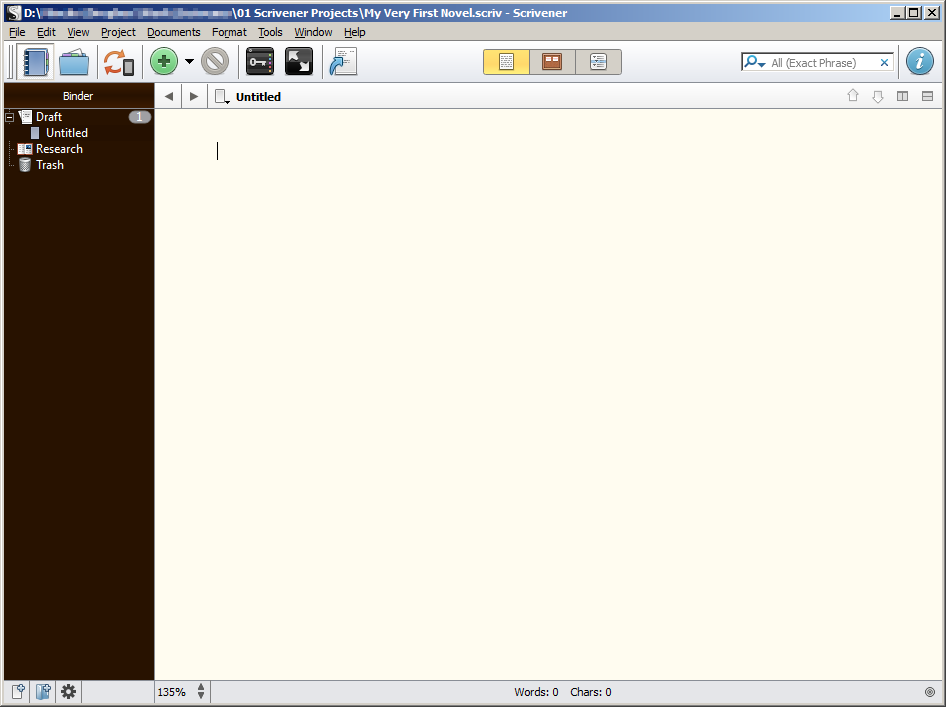
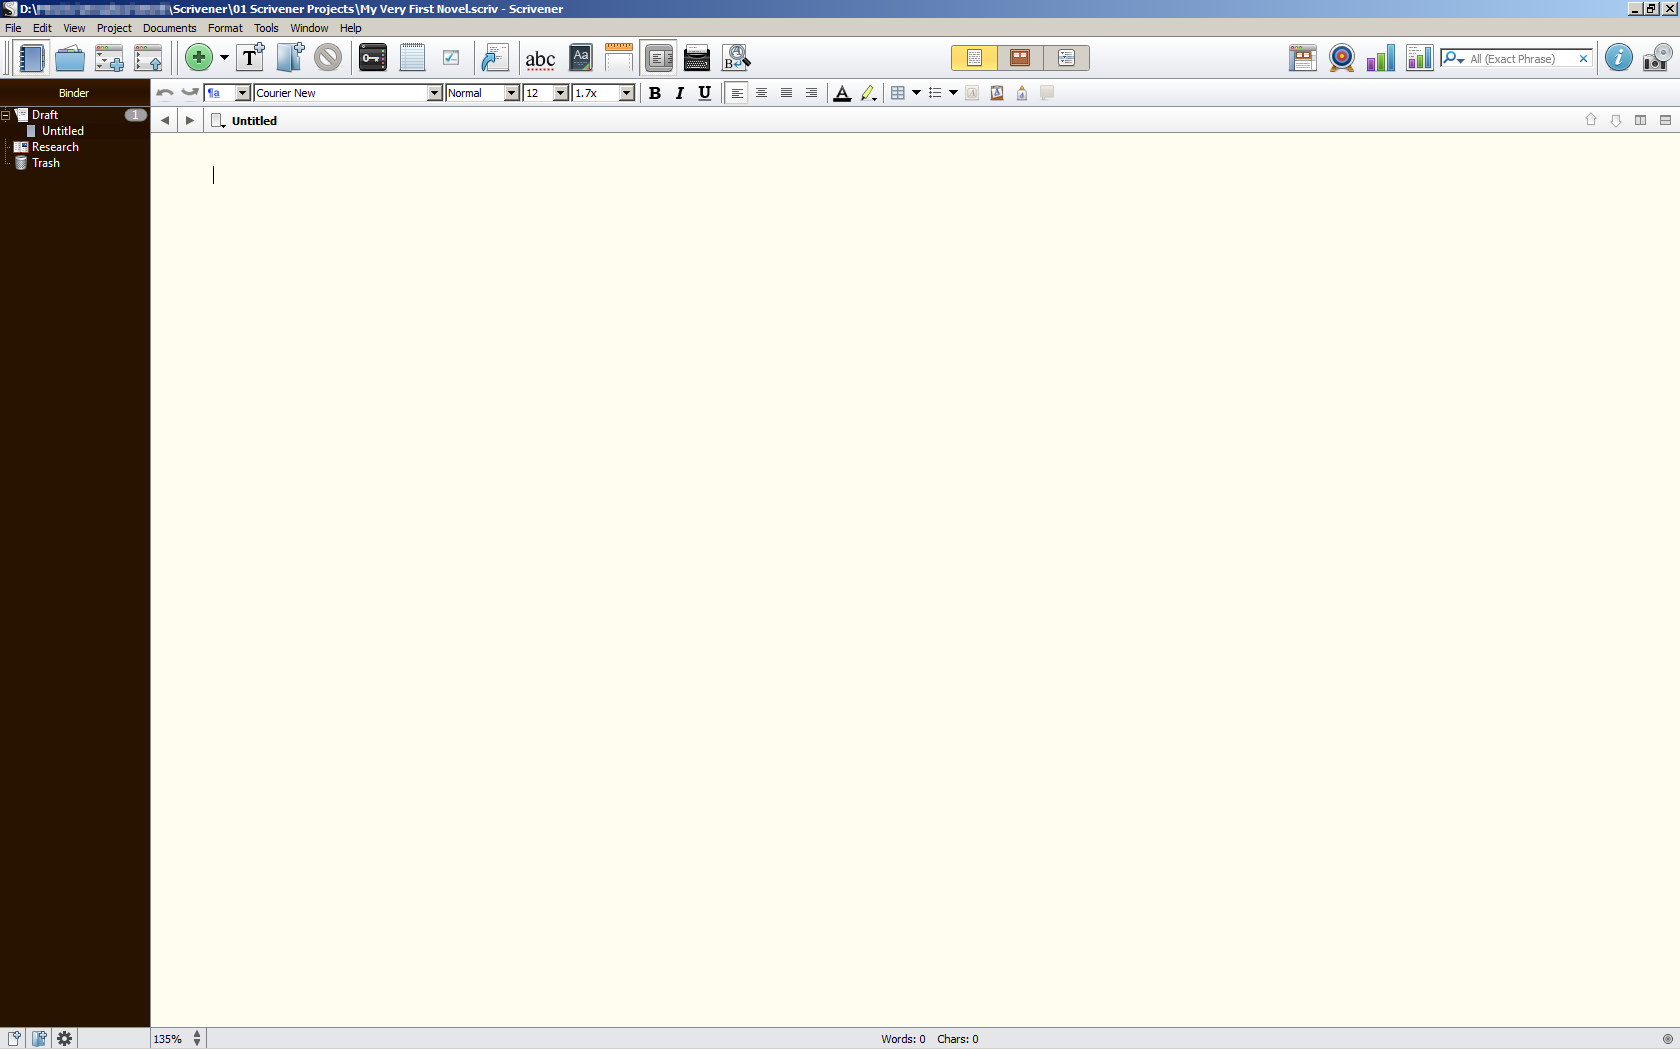
This is the window that should be visible after you clicked on Create.
Congratulations!
You can now stop procrastinating and begin writing.
